
In order to do woodworking, we need some wood, some lumber. I’m sure you’ve probably figured out by now that the lumber we purchase from Chelsea Lumber or any store comes from trees. The trees are harvested and brought to a lumber yard where they will be cut into boards. Figure 1 shows logs that have been cut to length and ready to be cut length wise into boards on a saw mill.
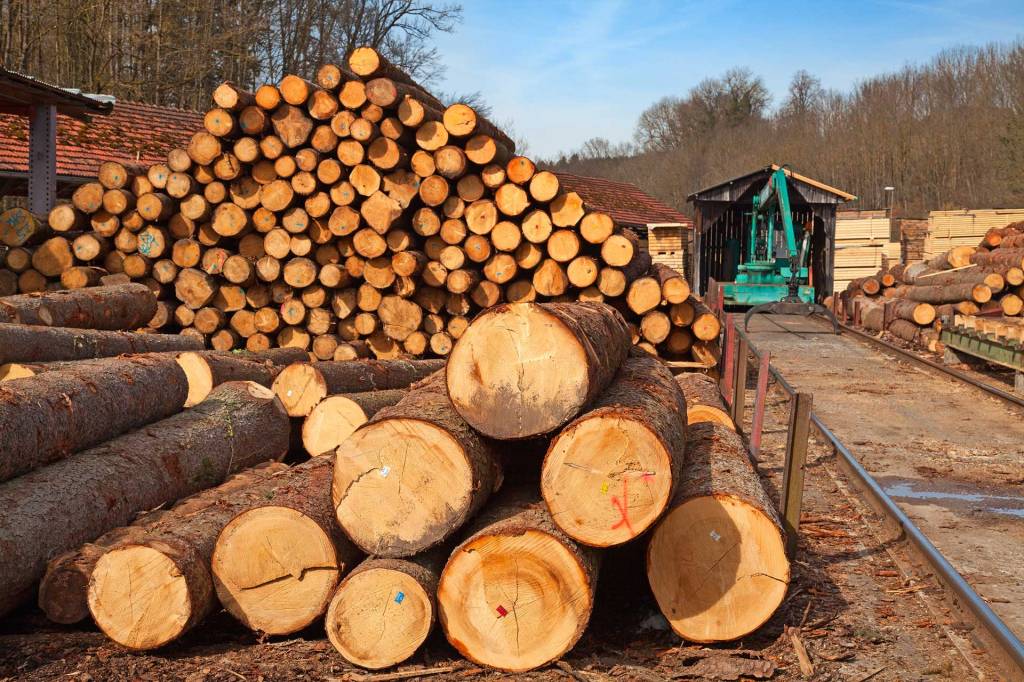
Figure 2 shows a log being cut on a sawmill. The lines drawn on the end of the log shows how the log will be cut. The pattern on the end will change depending on the size of board and type of cut that you want.

Depending on the orientation of how you cut the board you’ll get a different type of wood cuts. There are four typical types of wood cuts as shown in Figure 3: Plain Sawn, Quarter Sawn, Rift Sawn, and Live Sawn. As you can see in Figure 3, the grain appearance will change depending on the type of wood cut. Notice Quarter and Rift Sawn are similar. The difference is in the angle between the cut and the grain. The angle for Quarter Sawn is between 60 and 90 degrees, where the angle for Rift Sawn is between 30 and 60 degrees.
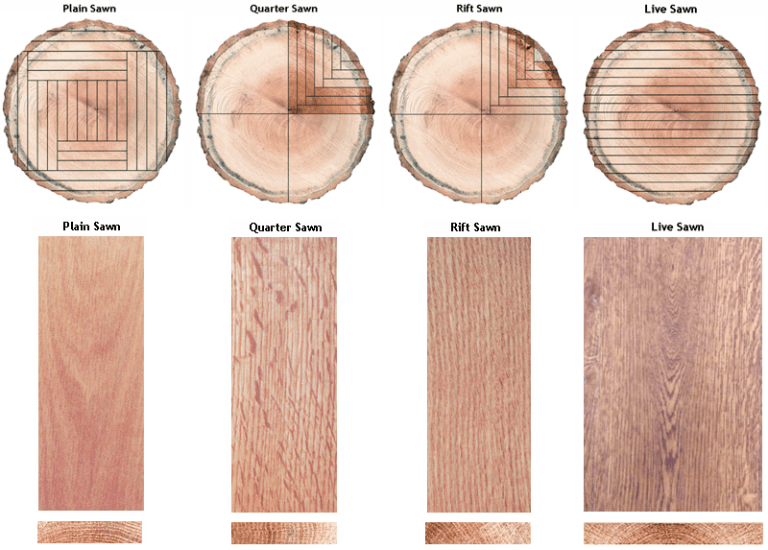
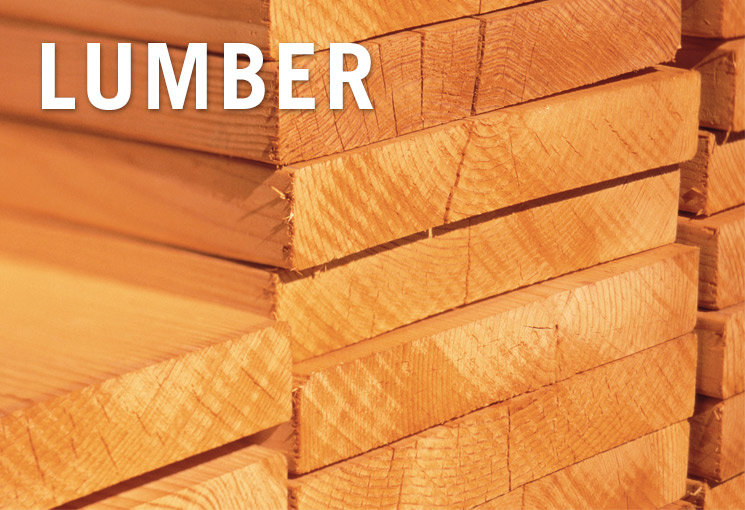
Figure 4 shows a stack of lumber similar to the lumber that you’d buy at a lumber yard. So you purchase some lumber and bring it to your wood shop to start making your project. However the wood is rough and it may be twisted and cupped. We need to smooth and flatten all four sides of the board. This is called S4S, surface four sides. We start this process off using a Wood Jointer to smooth and flatten two sides and in the process making them perpendicular to each other. Which means that they are square or form a 90 degree angle with each other.
Nate Harris, the owner of Harris Design, will demonstrate how to use a Wood Jointer in this short video.
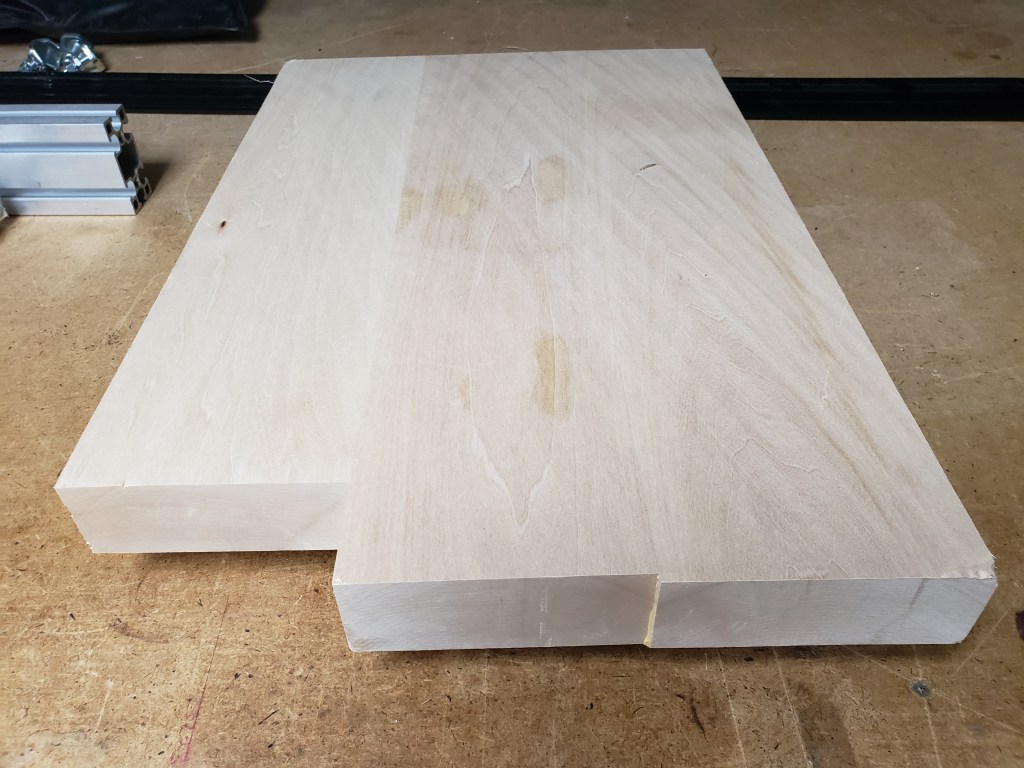
You may be wondering why it’s called a jointer. The jointer creates smooth flat surfaces, which is necessary for jointing two pieces of wood together by gluing or bonding them. This is necessary to make larger boards. If you look at your kitchen table, it’s far too big to be just one board. It’s made up of multiple boards glued together. Figure 5 is an example of three boards glued together. The jointer makes the surfaces smooth and flat to ensure that there will be a good bond between the mating surfaces.
In conclusion, we use the Wood Jointer to smooth and flatten the side and edge of the board, which covers two of the four sides (S4S). Next time we’ll cover the Wood Planer, which will work the third side.
